English
 中文
中文
How To Print T-shirt
Ready to make your own garment, but no idea where to start? Sounds like you need a guide on how to print t-shirts. In this 10-step guide, you'll learn about every process: making graphic design , preparing screens, printing, curing and cleaning. Learn how to print t-shirts and start to practice.
STEP 1: PREPARING YOUR PATTERN


To print a shirt, you should have something to print on the shirt. Whether you design the pattern yourself or a customer brings it to you, all screen printing starts with some type of pattern. When thinking about the pattern you want on your t-shirts.In essence, the better the quality of pattern you start with, the better quality of a screen print you end up with. When screen printing t-shirts, you print one color at a time. If you need to print multiple colors, you will need a professional scanner to separate the colors from each other.so you can create different screens for your design.One color for one screen.
A lot of screen printers use Coreldraw,Illustrator, Photoshop, or Procreate to make their pattern design. These programs separate and clean up the pattern to help you prepare for printing.
STEP 2: PRINTING FILM POSITIVES
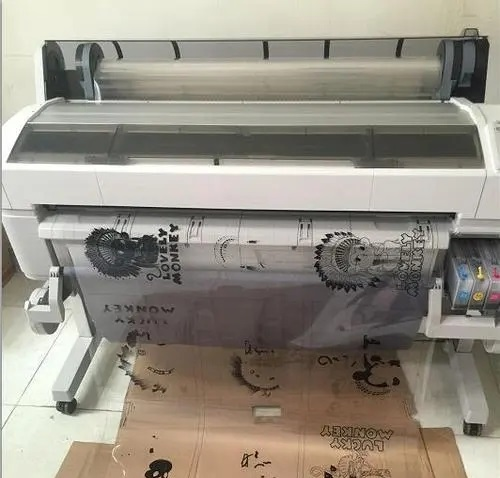
Once your pattern is created and the colors are separated, the next step is to create a film positive. You will use this film positive to burn your image into a silk screen. A film positive transparency is basically like an overhead transparency. Whatever you want to print on the t-shirt, you print it out in black ink on the film positive.
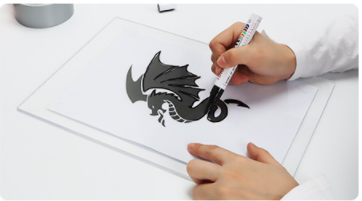
There are many ways to make film positives. You can find a local print shop to print the film, hand draw your image on the film, or purchase a compatible printer that you can use at home or in your shop.
STEP 3: MAKING A SCREEN
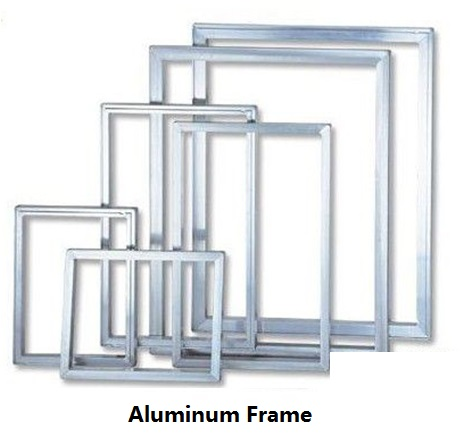
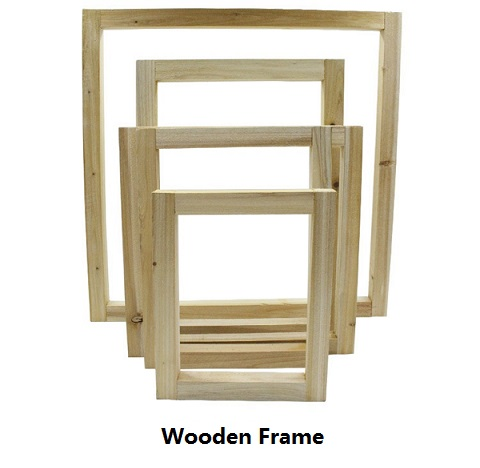
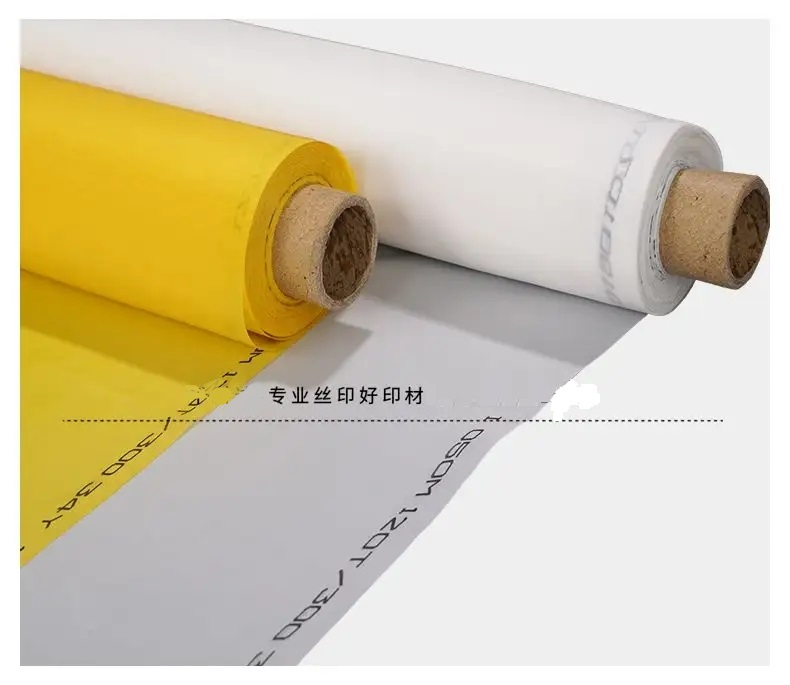
Once you have printed on the films, it is time to make the screen. A screen printing frame consists of a wood or aluminum frame stretched with polyester mesh on it. The mesh holds the image onto the screen and lets ink pass through when you press it with a squeegee. You will need to coat the mess with
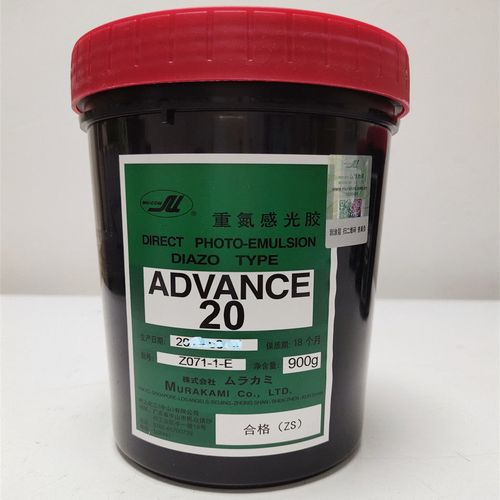
emulsion in order to expose the design onto the screen. Before you coat the mesh, it needs to be cleaned with a special screen printing degreaser to ensure any dust, lint, or particles is washed off so no bumps or pinholes appear in your emulsion.
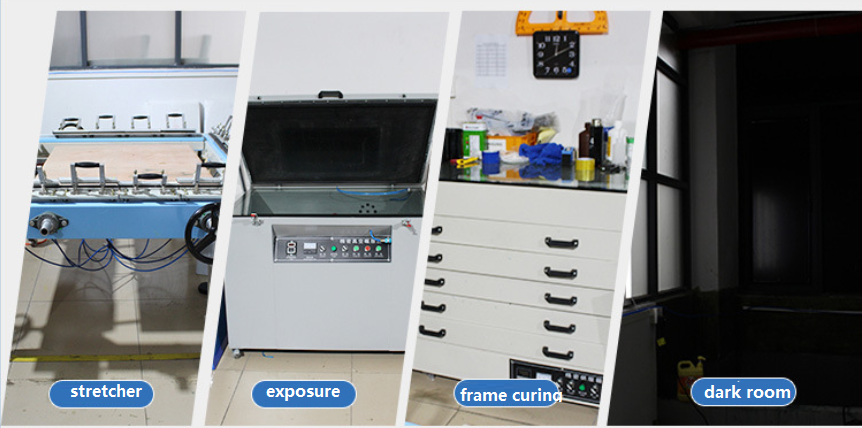
Emulsion is light sensitive, so coating the screen is typically done in a dark room that has special light-safe yellow bulbs in it.
Applying the emulsion onto your screen requires the use of a scoop coater. You should select your scoop coater size based on the size of your screen. A 4″ difference between the scoop coater size and the outside dimensions of your screen is recommended. This allows for a small space of open mesh on all sides of your scoop coater to make coating easy while giving you the largest comfortable area for printing.
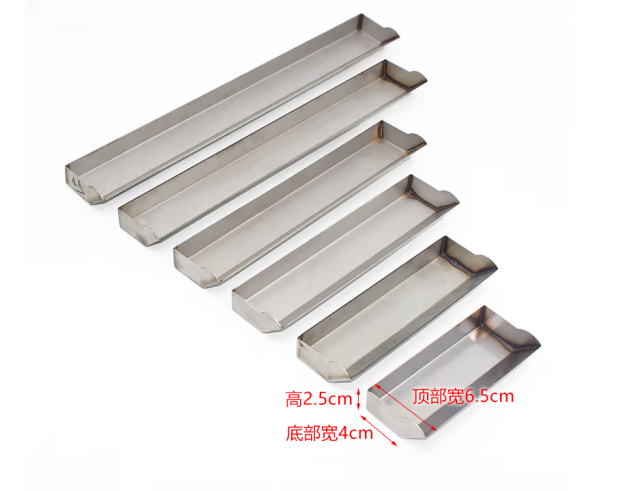
Most scoop coaters have two edges. One is more rounded, and can be used to create a slightly thicker layer of emulsion for more ink deposit onto your garment when printing. Thicker emulsion layers are useful when printing on sweatshirts and for other high-density applications. The other edge of the scoop coater is called the sharp edge, and will allow you to coat your screen with a thin layer of emulsion. Thinner layers are great for printing water-based and discharge inks, or if you want a softer hand on your garment.
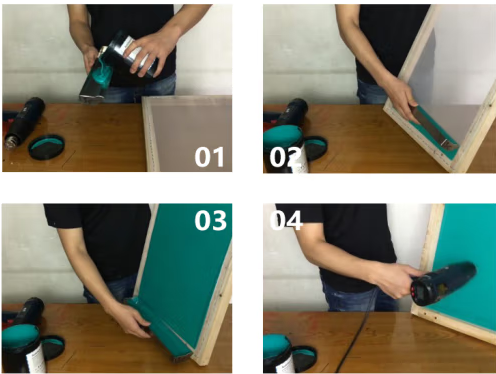
To coat your screen with liquid emulsion, first make sure that your emulsion is appropriately mixed and that you are in a light-safe area. Pour a small amount of emulsion into your scoop coater, enough to fill the entire bottom of the scoop coater evenly, from one side of the end caps to the other. Hold the screen vertically with your non-dominant hand, shirt side out. Then use hair dryer or put in oven for drying.
LEARN MORE ABOUT COATING SCREENS
If you do not have a darkroom, there's another way to make a screen. Using heat transfer vinyl (HTV), cut and weed out the design. Place the vinyl on a screen and you're ready to print. A vinyl stencil works well, but for shorter runs. It's best to use plastisol ink when using a DIY screen because the water in water-based inks will break down the stencil quicker.
LEARN MORE ABOUT MAKING DIY SCREENS
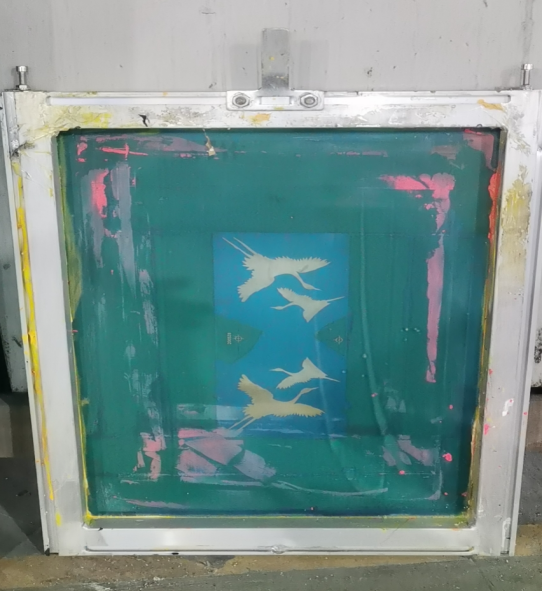
STEP 4: EXPOSING A SCREEN
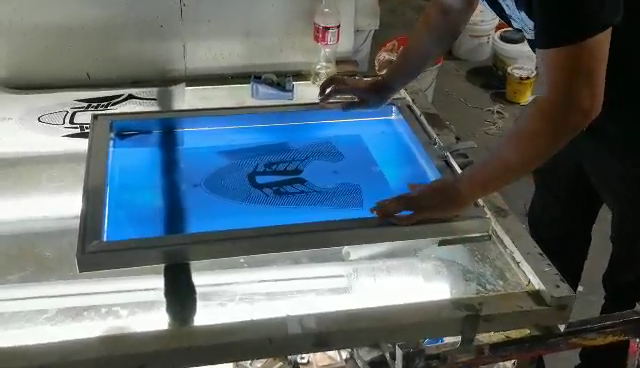

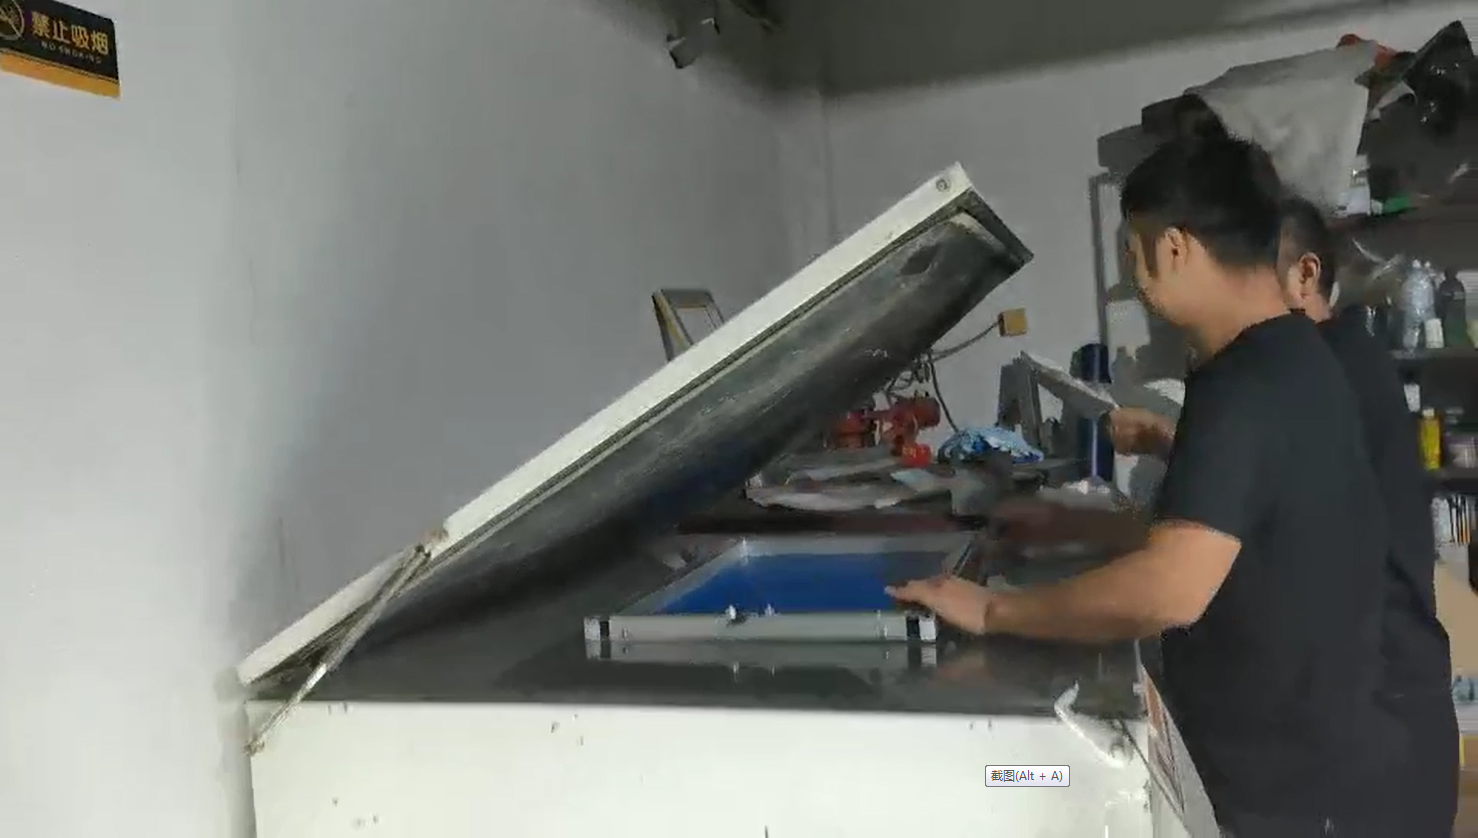
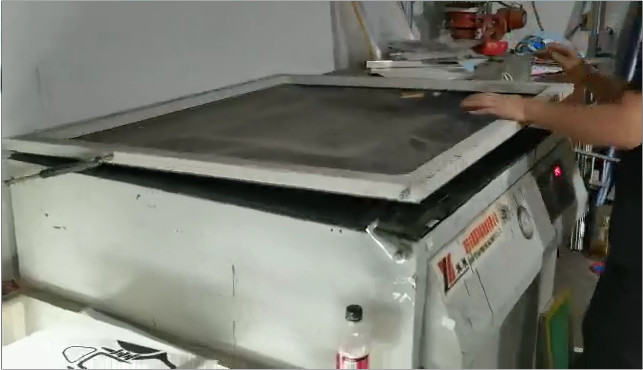
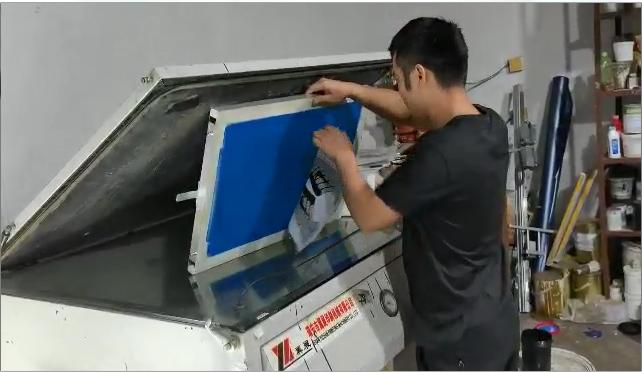
After the screen is coated and dried, align your film positive onto the screen and expose it with a screen printing exposure unit or an exposure lightbulb for an allotted amount of time. The screen hardens to light, but the film positive or black area of the film blocks light from reaching the emulsion. This leaves the area of emulsion unexposed or soft.
Finding the right exposure time is a difficult task. Many factors like type of emulsion, type of exposure unit, mesh count, mesh color, humidity levels, and more can affect how long a screen needs to be exposed. You will have to perform many tests before going into production.
After the screen is exposed, simply rinse it with water. The soft part of the emulsion that was not exposed rinses out, leaving areas of the mesh open that reflects your design.
STEP 5: SELECTING AN INK
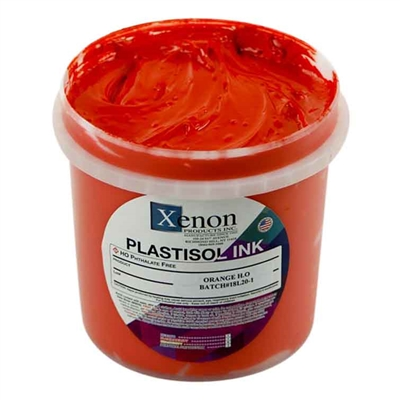
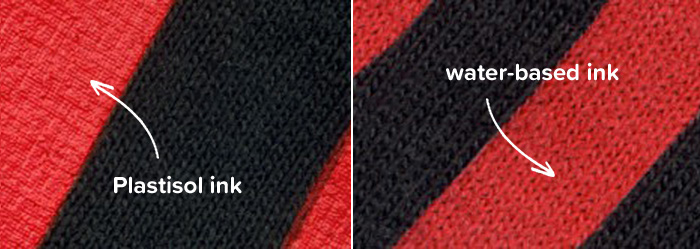
The two most dominant ink types on the market are plastisol and water-based. They both have their pros and cons. Plastisol ink is opaque, bright, vivid, and user-friendly. The ink is stiffer and needs chemicals to clean it up.
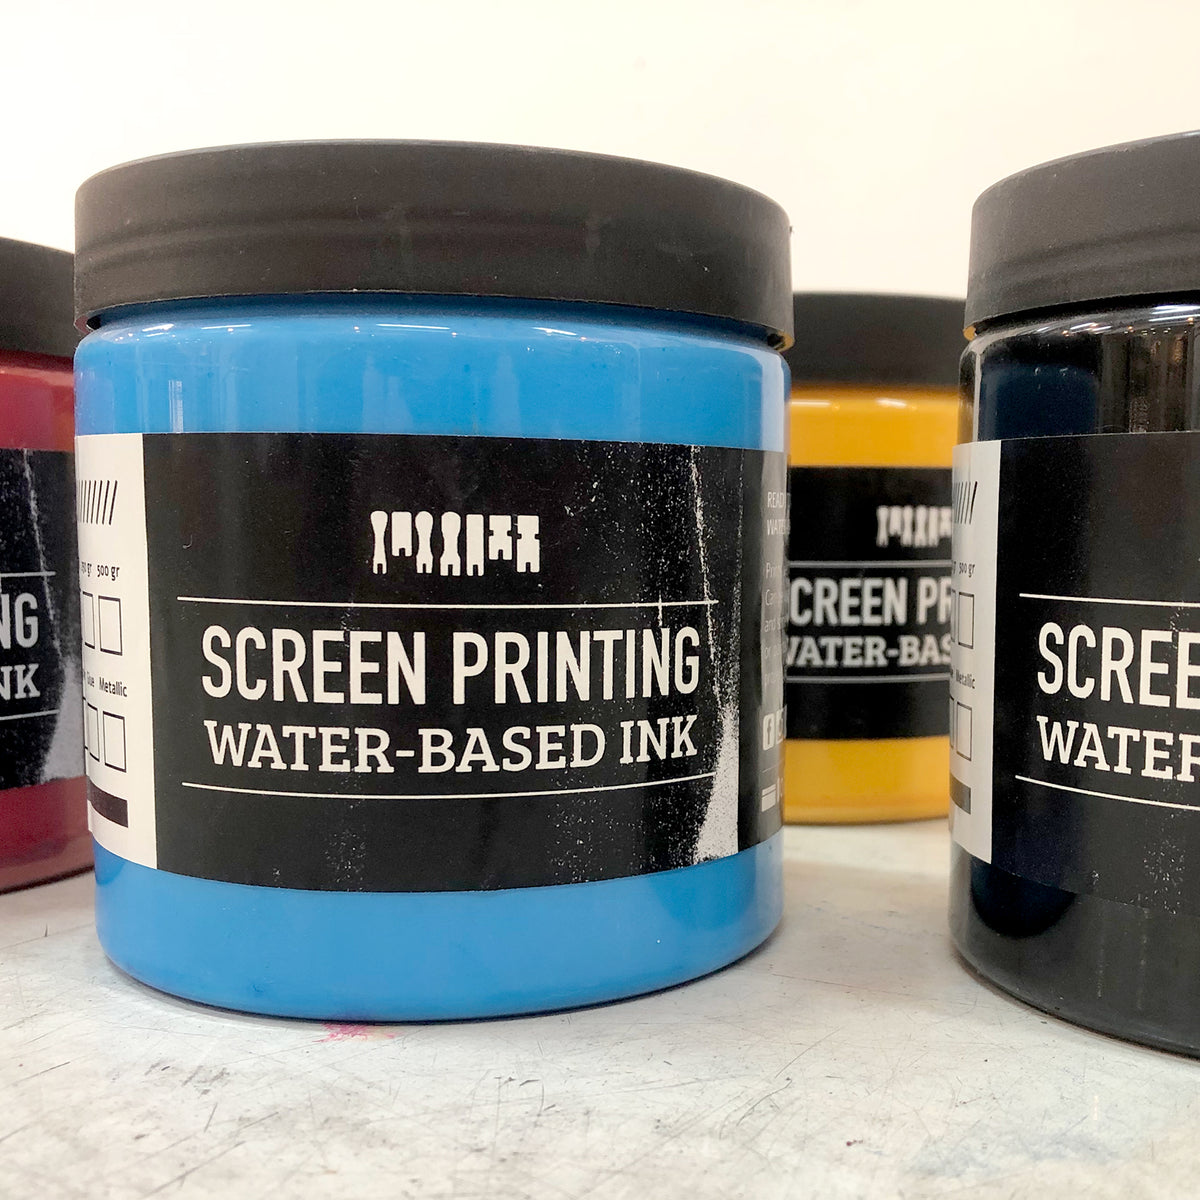
Water-based ink is soft and is great for vintage prints. The downside to the ink is the fact that it evaporates, which makes printing challenging. Achieving proper cure is also difficult.
Which one you use depends on what you or your customers want and the equipment you have at hand.
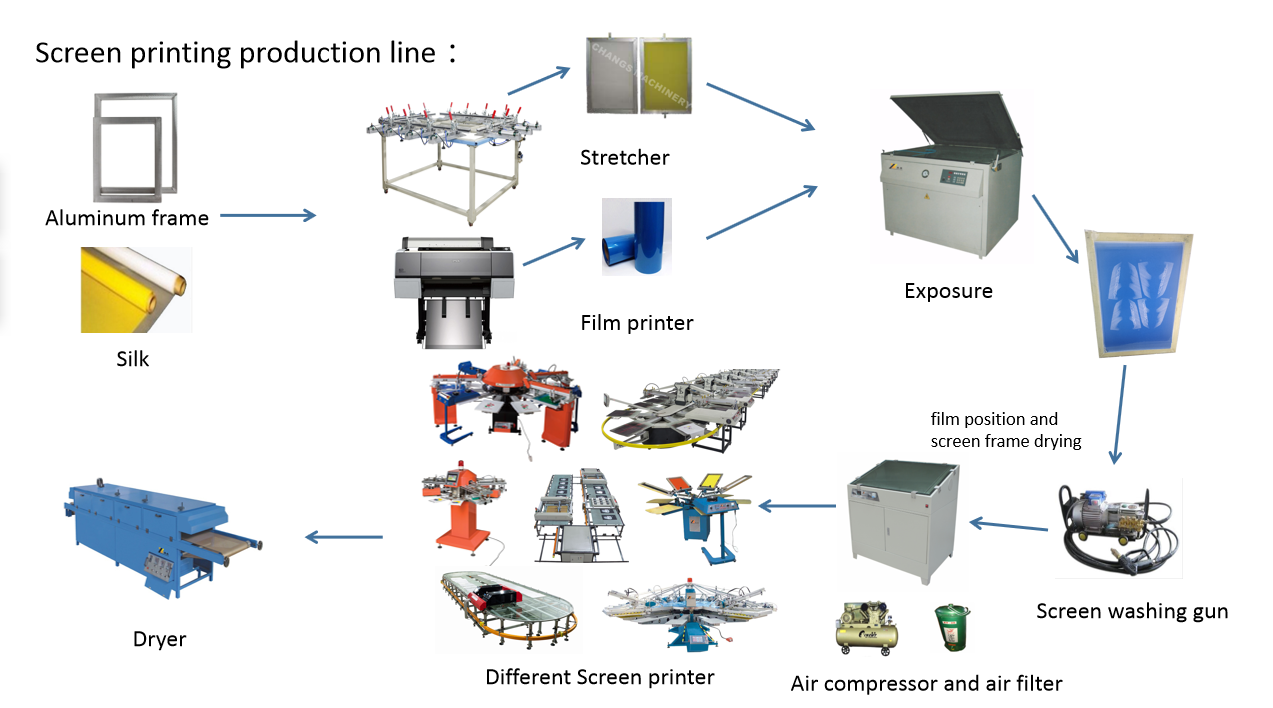
STEP 6: SETTING UP YOUR SCREEN PRINTING PRESS
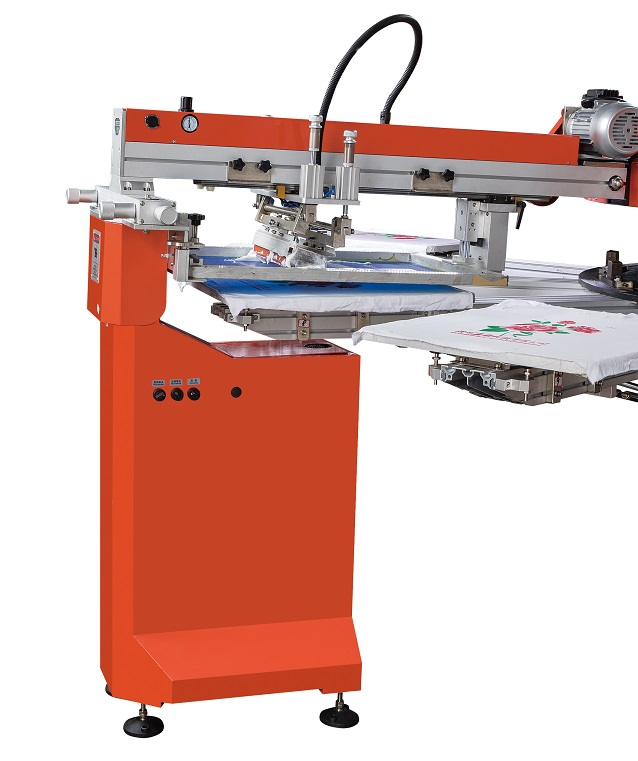
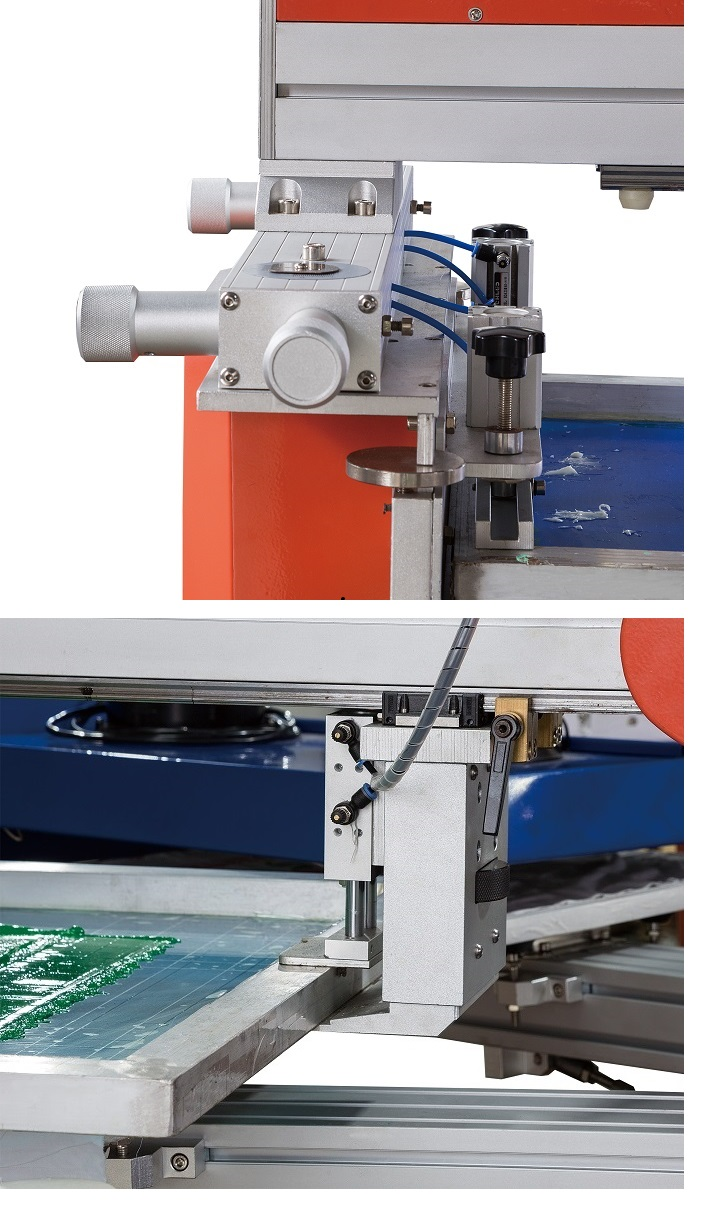
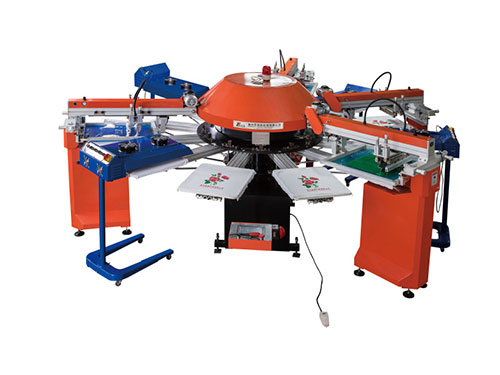
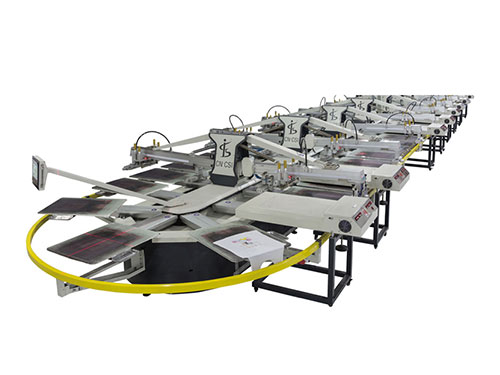
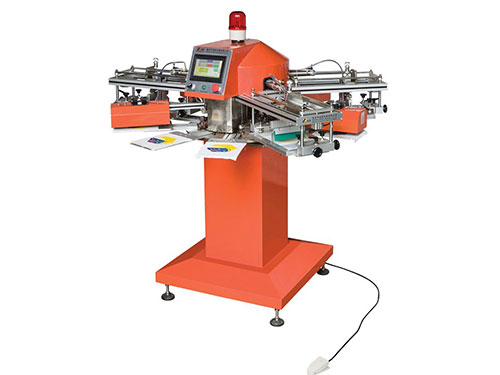
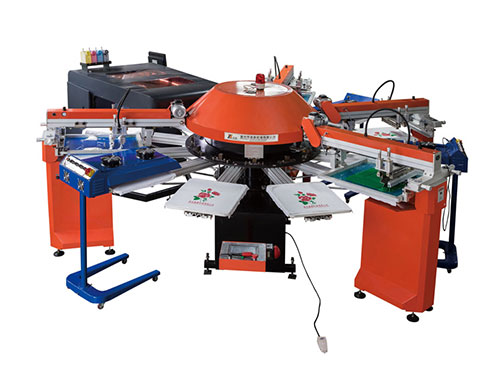
Before you are ready to start screen printing t-shirts, you need to step up the screens on your screen printing press. A screen printing press consists of a base that holds printing platens and a number of color arms. A manual press can be as small as a 4 color 4 station, or as large as an 8 color 8 station,like our SPM press. Automatic presses, like the SPG screen printing presses, can be even larger! Of course, if you have more color arms, you have the ability to print more colors at one time. Likewise, if you have a higher amount of printing stations, you can print faster.
A great beginner press is the SPM press. Simple yet versatile, the SPM press lets you learn the craft of screen printing. Practice printing on shirts, sleeves, tags, chests, and more. When you begin to grow, the SPM press is perfect for live printing or for multi-color jobs or tag and sleeve prints.
Right before you clamp your screens into your press, you need to tape off the edges of your frame with screen printing tape. This helps keep ink from getting places you don’t want it to.
If you are printing a multiple color job, you’ll need to register the colors together so that they line up correctly when you print all of the colors onto a shirt. Using a press with laser guiding system or micro registration is extremely helpful when printing fine detail and multiple color prints. Once you believe your screens are in registration, you need to complete a test print to ensure that everything is lined up right.
LEARN HOW TO REGISTER A MULTICOLOR PRINT ON THE PRESS
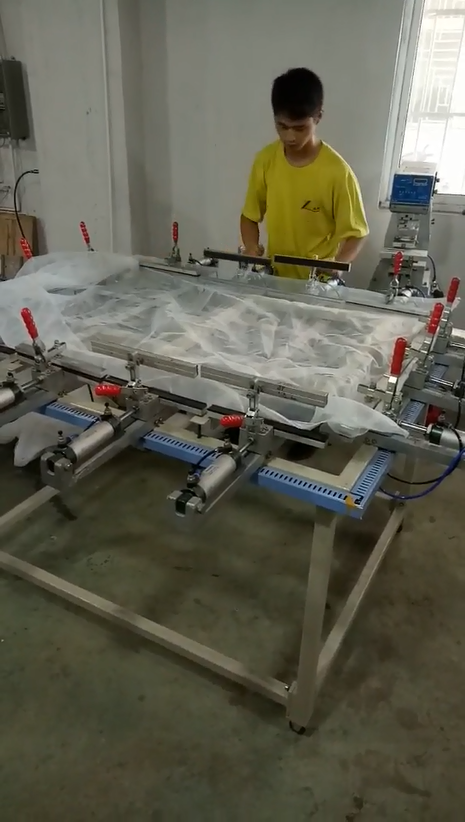
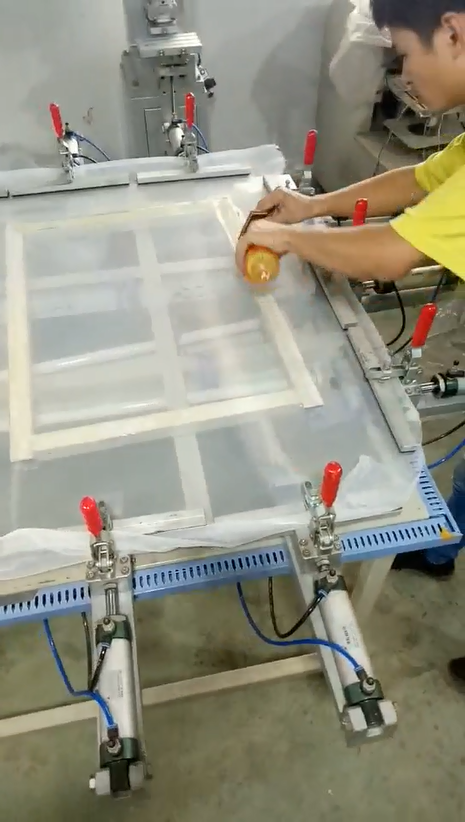
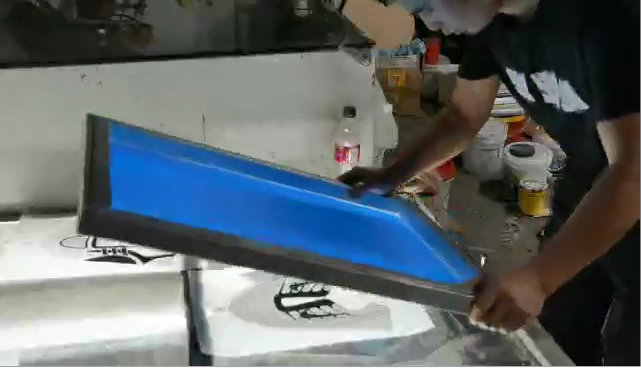
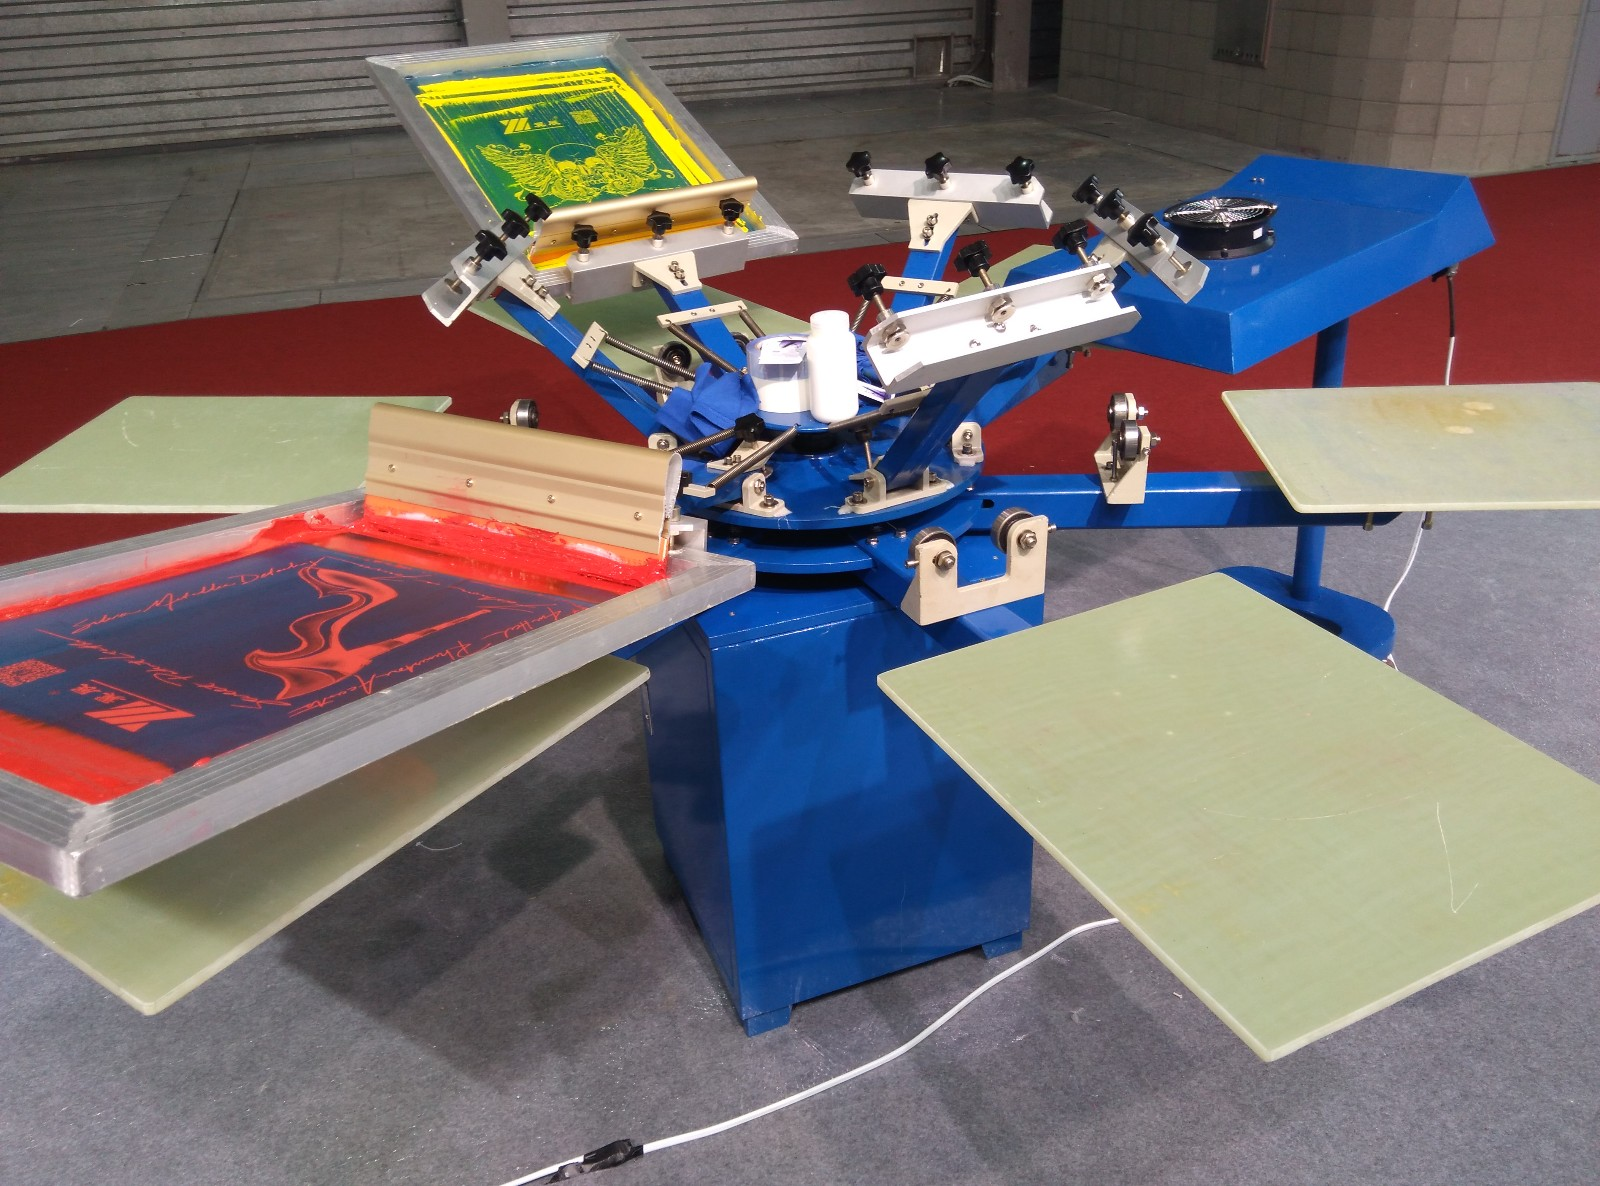
STEP 7: PRINTING T-SHIRTS
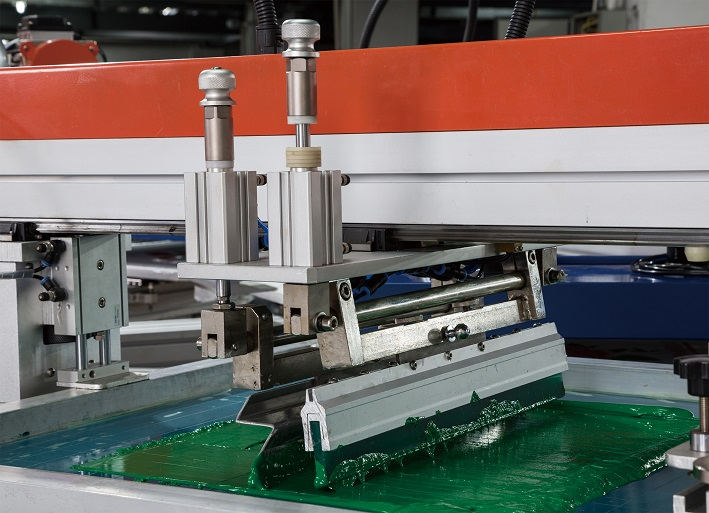
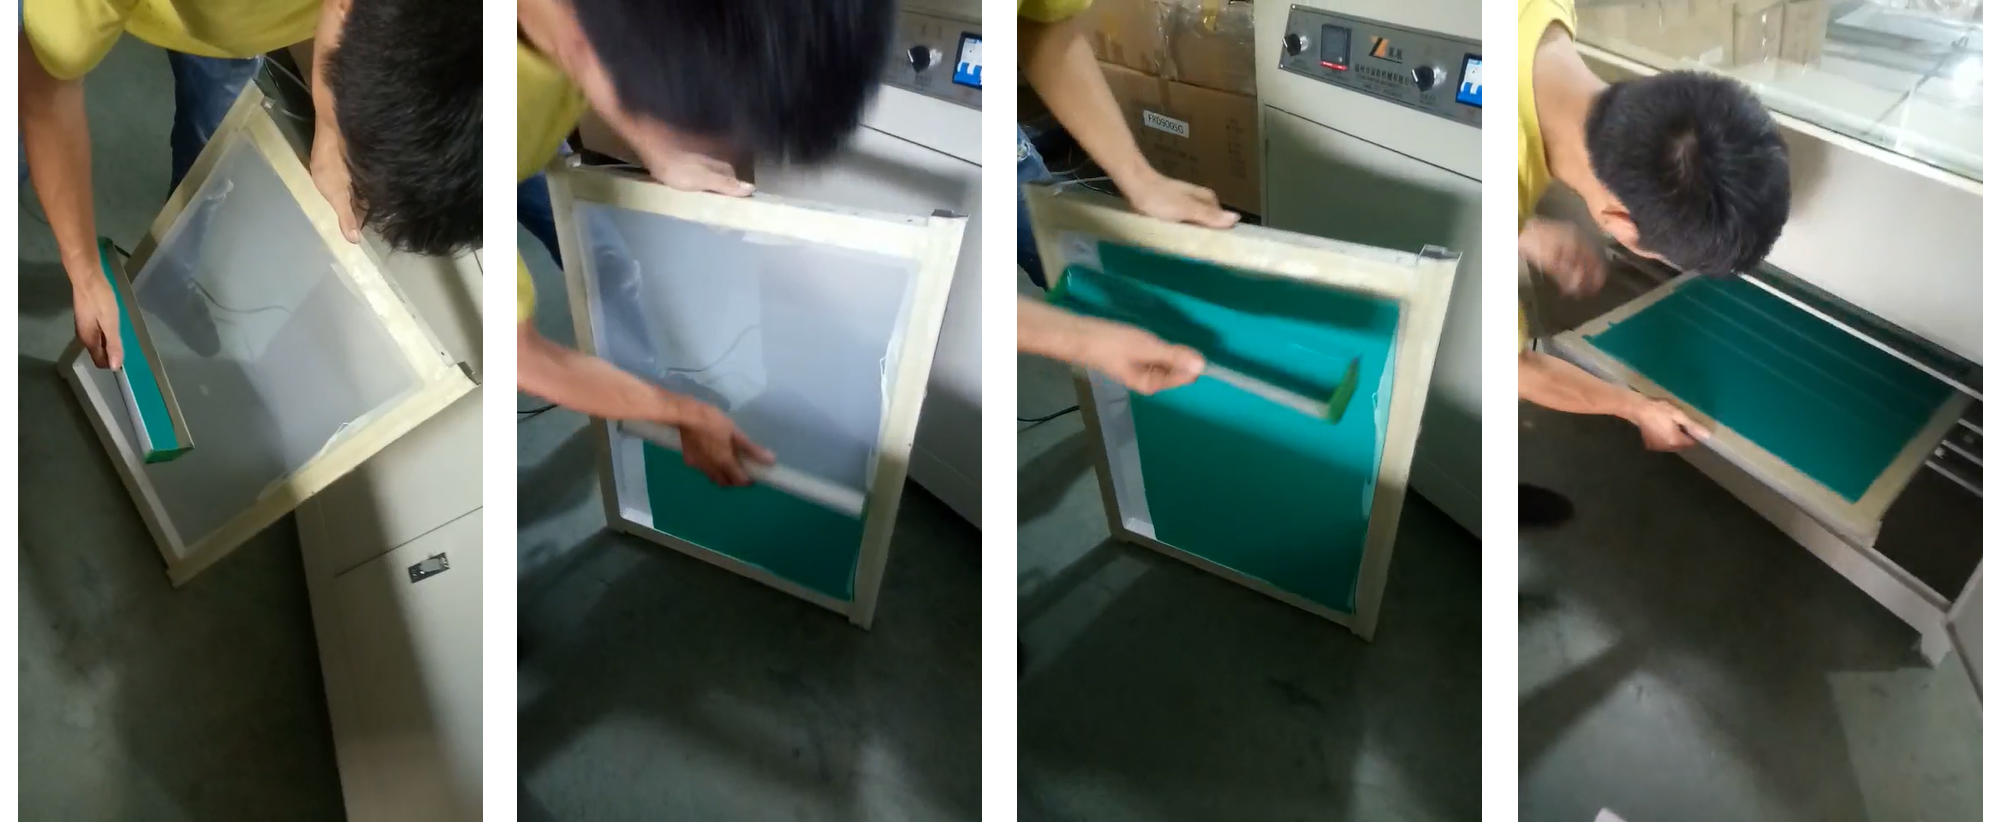
Photo by Wenzhou Changs Machinery Co.,Ltd
Before loading your shirt onto the platen, you will want to make sure to apply table glue to the platen. This helps the shirt stick to the platen and not move around.
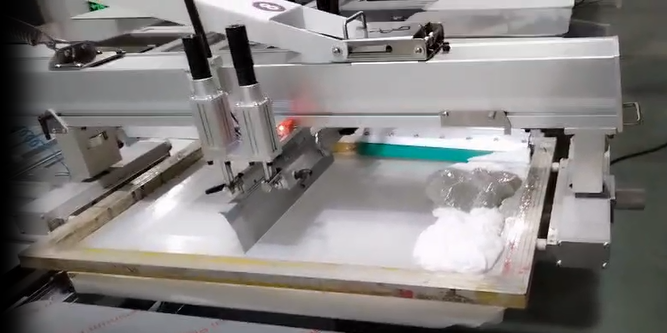
Water-Based Table glue is a great way to adhere shirts to a platen. Load your shirt onto the press and get your printhead aligned. Before locking the print head into place above your shirt, make sure to flood the screen with ink. Once the print head is locked down, push or pull the screen printing ink across the screen to deposit the ink onto the shirt. You may need more than one round of this depending on how much ink was deposited. If you are printing multiple colors, follow these steps with your other screens.
LEARN HOW TO USE WATER-BASED TABLE GLUE
Keep in mind that you may need to flash cure your shirt in between prints. This is especially true if you are printing on dark garments with a white under base. The flash dryer helps to cure/set the ink. This gives you the ability to print another color on top of your first layer.
STEP 8: CURING
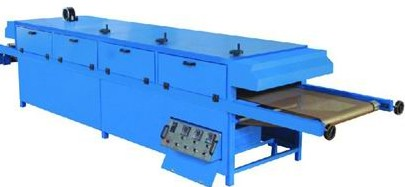
You also need to cure your shirt after you are completely done printing it. You can cure a shirt with a conveyor dryer, a flash dryer, or a heat press. The temperature at which the ink cure varies. Read the instructions on the ink container to learn the proper cure temperature. Water-based ink like Green Galaxy will cure between 300°F-320°F. Plastisol inks like Wilflex Epic Spot Process cure at 320°F. Low-cure plastisol inks like FN-INK™ cures at 260°F. The temperature that an ink cures at means that ink needs to reach that temp from the top to the bottom layer. Before purchasing or using an ink, learn what it needs to achieve full cure before implementing it in your shop. How long it takes to reach full cure will depend on the ink type and the kind of equipment you're using.
LEARN HOW TO ENSURE PROPER INK CURING
Use a laser temp gun or a donut probe to view the ink's temperature. If a shirt isn’t cured properly, the ink will not last and the print will start to degrade. To test whether the top of the ink has been properly cured, perform the stretch test. You will also need to wash the t-shirt several times to make sure that the ink holds
STEP 9: CLEAN UP
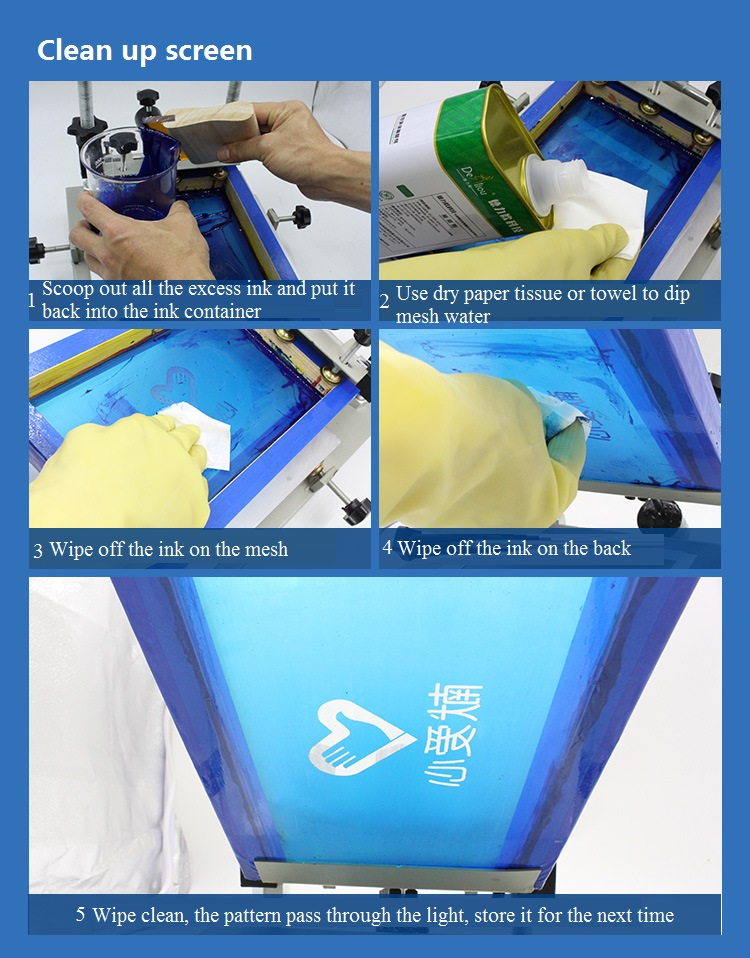
When you're done with a job, it's time to clean up. Removing ink from screens will depend on what kind of ink you used.
First step to this process — scoop out all the excess ink and put it back into the ink container. You'll save ink and make your life a little easier.
Water-based inks can be cleaned up with water. However, the water in water-based ink evaporates as soon as it is exposed to air. The more it evaporates, the more difficult it will be to clean it off. Using a product like Sgreen® Aquawash will greatly reduce the image stain by picking up water-based pigments.
Since plastisol ink doesn’t dry out, it’s easy to clean. Lay your screen flat and spray it with either an Ink Degrader or on-press wash and wipe with a rag. Once the chemical is fully absorbed by the rag, repeat the process until the screen is fully clean.
LEARN MORE ABOUT CLEANING INK OFF SCREENS
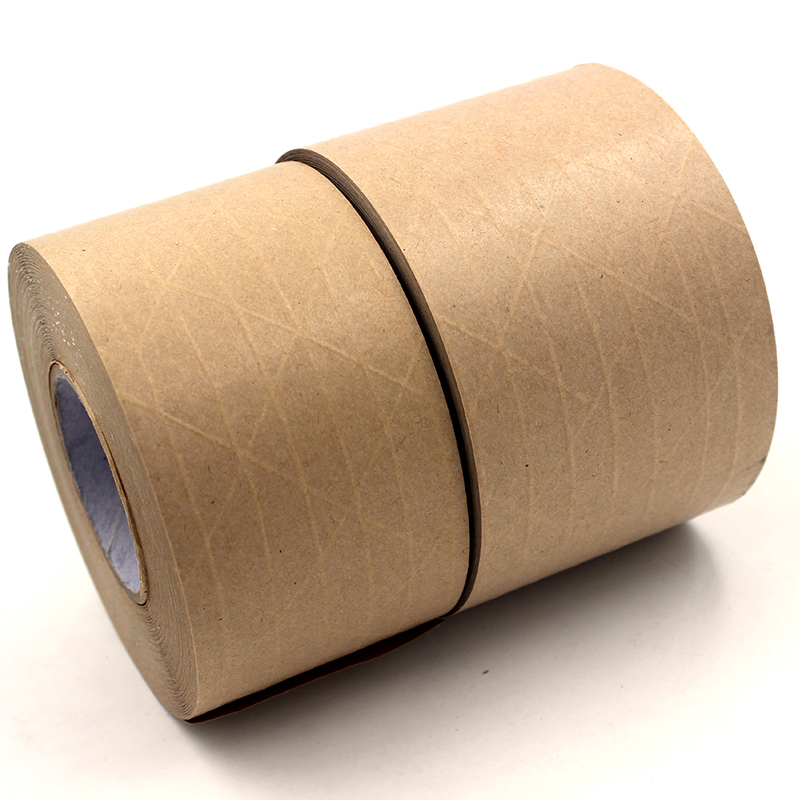
STEP 10: RECLAIM
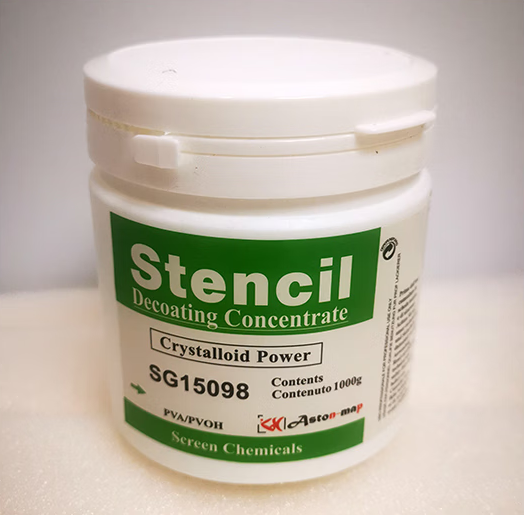
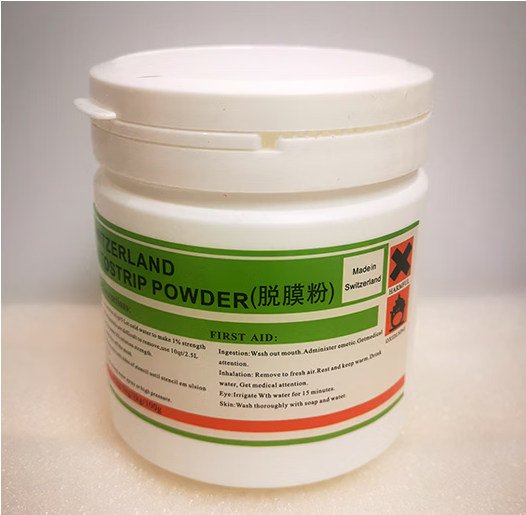
(Emulsion remove powder)
If you plan on reusing a stencil, you can skip this step. Make sure all ink has been removed and that the screen is dry before storing it.
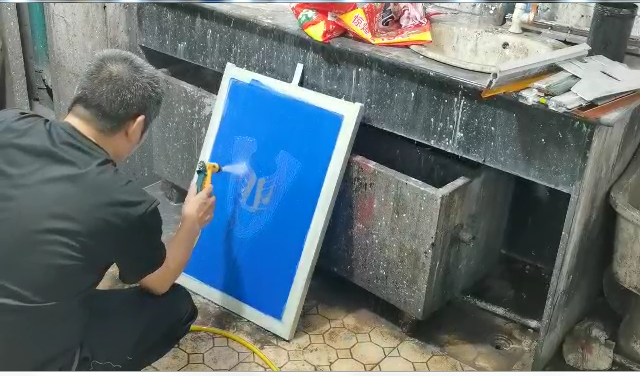
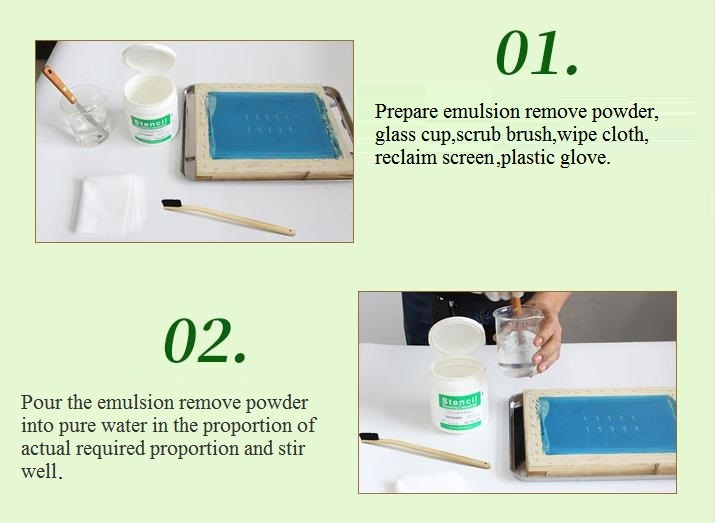
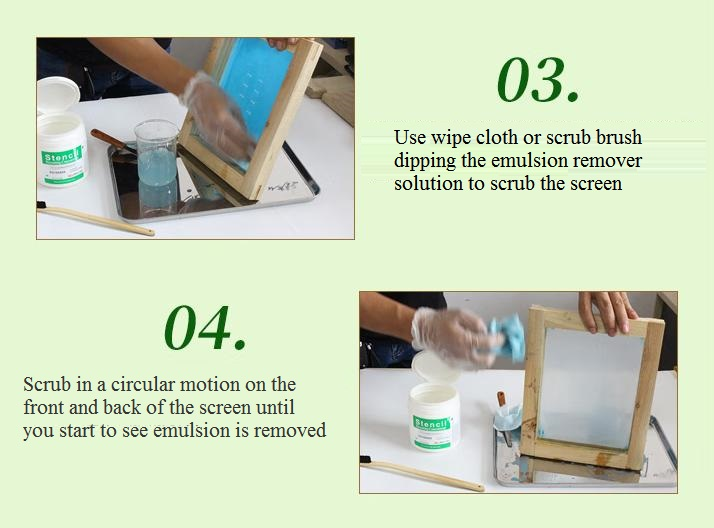
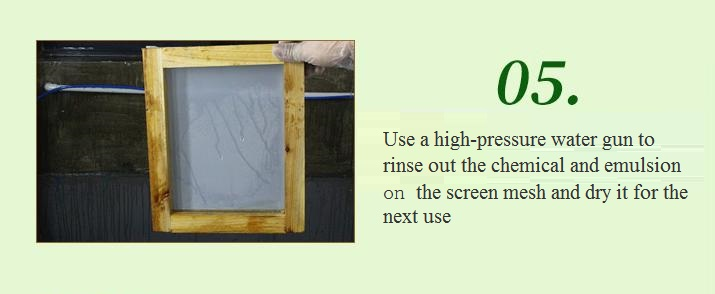
If you're done with a screen, it's time to reclaim it. You will need an emulsion remover powder and scrub brush. Pour the emulision remover powder into pure water in the proportion of actual required proportion and stir well.Use the wipe cloth or scrub brush dipping the emulsion remover solution to scrub the screen. Scrub in a circular motion on the front and back of the screen until you start to see emulsion is removed. Let the chemical seep into the screen for 30 seconds. Please, do not leave the emulsion remover solution dry in the screen. If the chemical dries, the screen is no longer usable. After the time has passed, Use a high-pressure water gun to rinse out the chemical and emulsion on the screen mesh and dry it for the next use. Store the screen in a dust-free area to let it dry so it'll be ready to be used again.
LEARN MORE ABOUT RECLAIMING
There you have it. You now know the basics of how to print t-shirts. Don't be hard on yourself in the beginning.
For a complete course on how to screen print, check out How to Screen Print With a SPM Press Online Course. It's a comprehensive, FREE course that'll walk you through everything from darkroom setup to reclaim.
Printing t-shirts is hard. Everyone struggles with it at first. Keep testing. Continue practicing. It's a long process, but it's worth it in the end.